Cameras
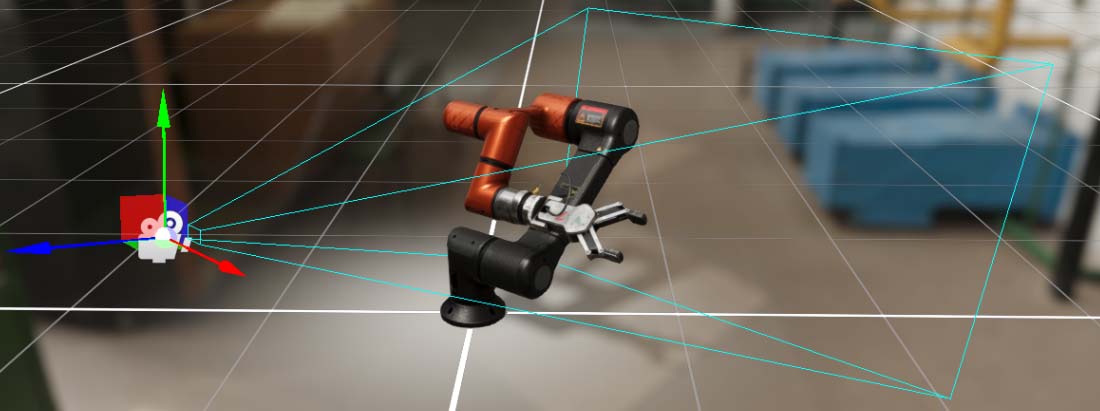
Cameras are responsible for capturing your scene and displaying it to the user. By customizing and manipulating cameras, you can make the visual composition of your scene truly appealing.
You can create an unlimited number of cameras in a Scene. They can be set to render in any order, at any location on the screen, and choose the render target destination of this camera.
Create a Camera3D from Code
The following sample code can be used to instantiate a new camera entity in a scene.
protected override void CreateScene()
{
    // Create a new camera entity.
    Entity cameraEntity = new Entity()
        .AddComponent(new Transform3D())
        .AddComponent(new Camera3D()
        {
            BackgroundColor = Color.CornflowerBlue,
        });

    // Add the camera entity to the entity manager.
    this.Managers.EntityManager.Add(cameraEntity);
}
Create a Camera3D in Evergine Studio
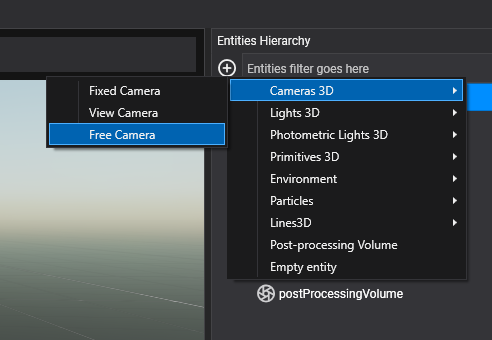
In the Entities Hierarchy panel of your Scene Editor, click "Add Entity" and select Camera3D, then choose the kind of camera you want to create:
- Fixed Camera: This camera does not have any built-in behavior; it is static.
- View Camera: This camera can be moved using the mouse, touch, or keyboard while respecting the look-at point.
- Free Camera: This camera can be moved using the mouse, touch, or keyboard.
Camera3D Properties
Basic Camera3D Properties
| Property | Description |
|---|---|
| Field of View | The camera’s view angle, measured in degrees along the axis specified in the Field of View Axis drop-down. |
| Field of View Axis | Field of view axis:
|
| Near Plane | The nearest distance the camera can see. |
| Far Plane | The furthest distance the camera can see. |
| Background Color | The color applied to the background. |
| Clear Flags | This flag indicates which part of the framebuffer will be cleared before rendering:
|
| HDR Enabled | Render the camera output in an HDR format. |
| Camera Order | Specify the order in which the camera will be rendered. Lower values indicate that the camera will be rendered first. |
Frustum
The camera frustum is the region of space that will appear on the screen.
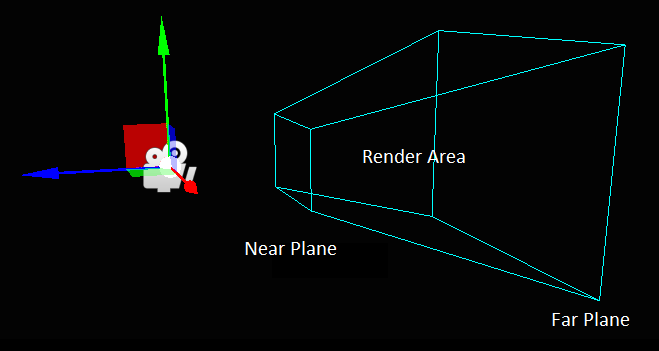
It is defined by near, far planes, and field of view properties.
The near and far planes determine where the camera's view begins and ends.
- The near plane is the closest point the camera can see. The default value is 0.1. Objects before this point aren't drawn.
- The far plane, also known as the draw distance, is the furthest point the camera can see. Objects beyond this point aren't drawn. The default setting is 1000.
Photometric Properties
By default, the camera uses basic properties to specify camera views (field of view and exposure). However, it is possible to specify these values using physical values used in real cameras.
To enable physical parameters:
| Property | Description |
|---|---|
| Enable Physical Parameters | Boolean to indicate if the camera will use the physical parameters to define its field of view. |
Focal Length and Sensor Size
| Property | Description |
|---|---|
| Focal Length (millimeters) | The focal length is a common term in photography to describe the field of view. |
| Sensor Size (millimeters) | The sensor size describes the size in millimeters of the camera sensor. It has several implications in combination with other properties. For example, sensor size and focal length define the camera field of view. |
Exposure
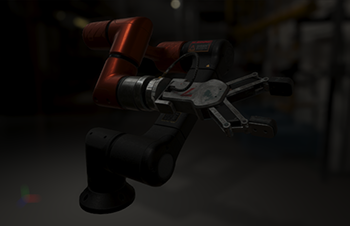
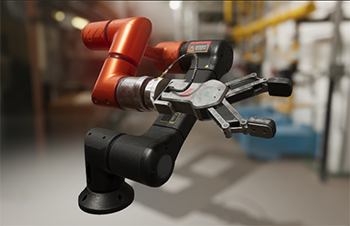
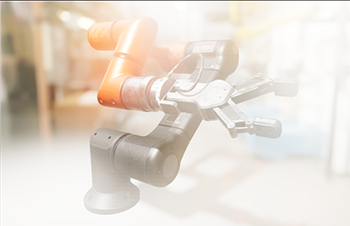
The exposure property specifies the overall factor that will be applied to the render output. In combination with HDR render output and environments, it will produce realistic results:
| Exposure = 0.2 | Exposure = 1.0 | Exposure = 3.0 |
|---|---|---|
 |
 |
 |
The exposure can be specified using the exposure property, but if you use photometric camera properties, you can reproduce physical behavior concerning the amount of light gathered by the camera:
| Property | Description |
|---|---|
| Aperture (f-stops) | The aperture, expressed in f-stops, controls how open or closed the camera system's aperture is. In addition to the exposure, the aperture setting controls the depth of field. |
| Shutter Speed (seconds) | The shutter speed, expressed in seconds, controls how long the aperture remains open. In addition to the exposure, the shutter speed controls motion blur. |
| Sensitivity (ISO) | The sensitivity, expressed in ISO, controls how the light reaching the sensor is quantized. In addition to the exposure, the sensitivity setting controls the amount of noise. |
| Compensation (EV units) | The compensation, exposure compensation, or EC is expressed in EV units. Applying an exposure compensation EC is as simple as adding an offset to the final exposure. |
Tip
Exposure of 1 can be achieved using an aperture of 1 f-stop, a shutter speed of 1.2 seconds, and sensitivity of 100 ISO.
Camera Render Output
By default, the camera render output will be targeted to the default Display registered in the GraphicPresenter service.
This behavior can be modified using two properties:
| Property | Description |
|---|---|
| DisplayTag | It controls which display will be used to output the render. Each display is registered into the GraphicPresenter using a DisplayTag. Setting this property will specify the camera output to the framebuffer defined in this display. |
| Framebuffer | However, you can override this behavior by setting a framebuffer instance. If you do this, the camera output will be targeted to this framebuffer instance, even if you have previously specified a DisplayTag. |