Getting Started
Here are the initial steps to follow to get started with our Mixed Reality Toolkit:
- Create a new Evergine project or open an existing one.
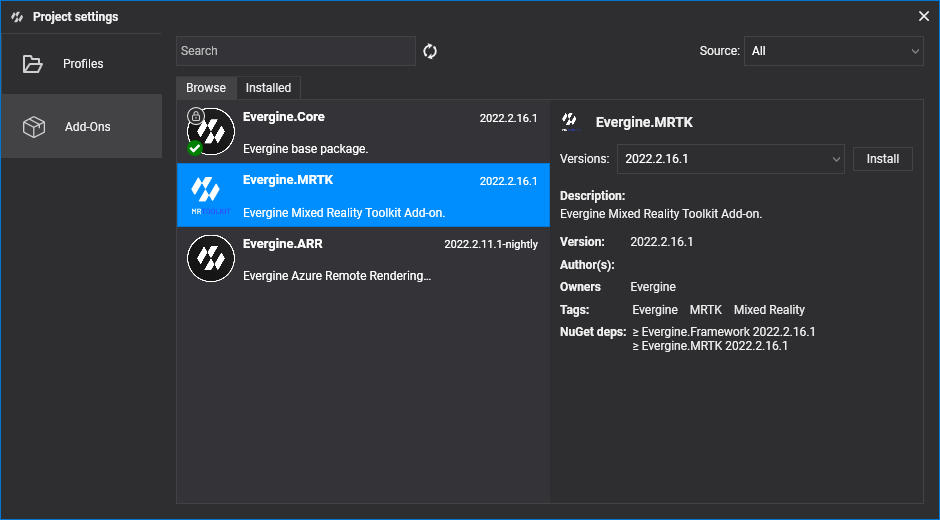
- Install the Evergine.MRTK add-on using the add-on management option in Evergine Studio.
- Update all scenes that will use MRTK functionality so they extend MRTK's XRScene class instead of Evergine's Scene class. There are some material properties that the scene uses, which need to be filled in.
using System;
using Evergine.MRTK.Scenes;

namespace Evergine.MRTK.Demo.Scenes
{
    public class DemoScene : XRScene
    {
        protected override Guid CursorMatPressed => EvergineContent.MRTK.Materials.Cursor.CursorPinch;

        protected override Guid CursorMatReleased => EvergineContent.MRTK.Materials.Cursor.CursorBase;

        protected override Guid HoloHandsMat => EvergineContent.MRTK.Materials.HoloHands;

        protected override Guid SpatialMappingMat => Guid.Empty;

        protected override Guid HandRayTexture => EvergineContent.MRTK.Textures.line_dots_png;

        protected override Guid HandRaySampler => EvergineContent.MRTK.Samplers.LinearWrapSampler;
    }
}
Note
There will probably be an error related to the CreateScene method, which is sealed in the XRScene class. If the scene needs to be modified via code, this can be done by overriding the OnPostCreateXRScene method instead.
- Register an instance of the NoesisService class in the Application class.
var noesisService = new NoesisService();
this.Container.RegisterInstance(noesisService);
And that's it! The project should be ready to use MRTK components.