Using RenderLayer
In this guide, you will learn how to load and use RenderLayer in your applications to control mesh rendering order and configure various rendering states.
Loading a RenderLayer from Code
The following sample code demonstrates how to instantiate an existing RenderLayer asset and apply it to a material in your scene.
protected override void CreateScene()
{
    var assetsService = Application.Current.Container.Resolve<AssetsService>();

    // Load the opaque RenderLayer
    RenderLayerDescription opaque = assetsService.Load<RenderLayerDescription>(EvergineContent.RenderLayers.Opaque);

    // Load the effect
    Effect standardEffect = assetsService.Load<Effect>(EvergineContent.Effects.StandardEffect);

    // Create your own material
    Material material = new Material(standardEffect);
    material.LayerDescription = opaque;

    // Apply the material to an entity
    Entity primitive = new Entity()
            .AddComponent(new Transform3D())
            .AddComponent(new MaterialComponent() { Material = material })
            .AddComponent(new SphereMesh())
            .AddComponent(new MeshRenderer());

    this.Managers.EntityManager.Add(primitive);
}
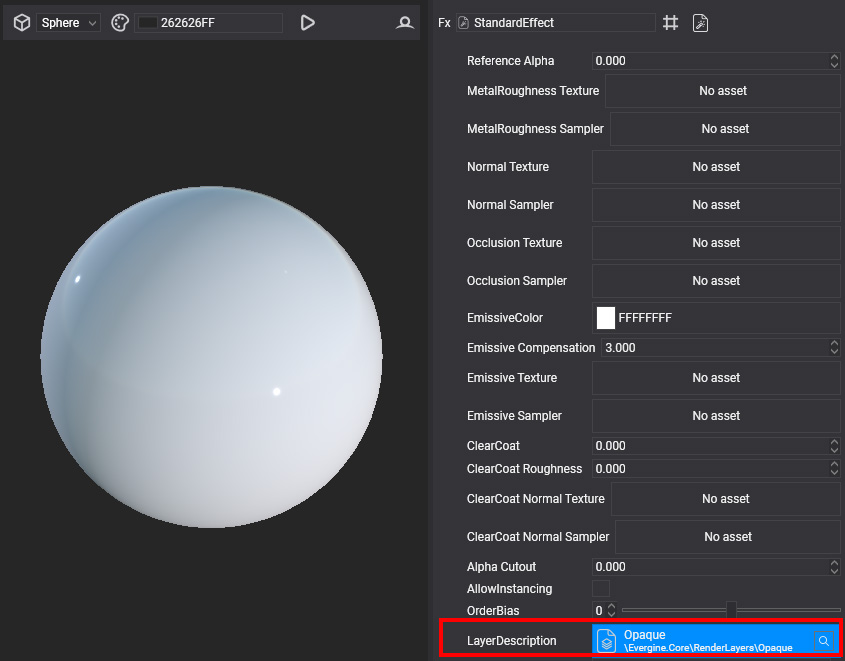
Applying a RenderLayer to a Material in Evergine Studio
To apply a RenderLayer to a material in Evergine Studio, follow these steps:
- Open the Assets Details panel and select the desired material.
- Navigate to the Material Editor.
- In the Properties panel, find the
Layerfield. - Choose the appropriate
RenderLayerfrom the dropdown menu.
This will assign the selected RenderLayer to your material, allowing you to control the rendering order and define its rendering behavior.